Getting started
Welcome to the complete guide to FOREST. Learn how to integrate FOREST into your existing work flow, build a web portal or quickly view your model diagnostics alongside observations.
Installation
FOREST is distributed via conda through the conda-forge channel. There are multiple ways to install forest with conda.
# Create a new environment with forest installed
conda create -n custom-name -c conda-forge forest
Conda should search the channels and find the libraries that forest depends
on and queue them up for installation. Select y when prompted to
begin installation.
Once installation has completed successfully, activate the custom-name environment. This
should enable the forest command.
# Enable environment
conda activate custom-name
Alternatively, if you already have a conda environment and would like to install forest alongside existing packages in that environment.
# Install in activated environment [if not following above steps]
conda install -c conda-forge forest
Full documentation for conda can be found here: https://docs.conda.io/en/latest/
Note
Windows users may need to update their conda using conda update -n base -c defaults conda
Test installation
If the installation was successful it should be possible to print the current installed version.
forest --version
Update forest
To make sure you have the latest build of forest use the following command to stay up-to-date.
# From inside an environment with forest installed
conda update -c conda-forge forest
Who is FOREST for?
FOREST is intended to provide a step change in exploration and monitoring of forecasting systems. Technical and non-technical users should be able to easily compare, interrogate and report on the quality of forecasts.
While the primary intention of FOREST is to support research-mode activities it should be trivial to use in an operational context. The underlying technologies scale seemlessly from a single user running on a laptop up to a fleet of EC2 instances running on AWS.
Tutorial
FOREST comes with example cases intended to get users off the ground quickly, reading about a tool is all well and good but nothing compares to hands on experience.
~: forest tutorial --help
The only argument forest tutorial files needs is a directory to place files into. Go ahead and run the tutorial command to get your hands on some files that forest can analyse.
~: forest tutorial files .
The above snippet can be used to populate the current working directory with all of the inputs needed to run the forest command line interface.
If you get stuck and want a quick way to open the tutorial page.
~: forest tutorial launch
The launch command opens a browser tab at the official tutorial guide.
Example - Unified model output
To display the unified model without any additional configuration simply run the following command inside a shell prompt
~: forest view --driver unified_model unified_model.nc
Example - Atmospheric dispersion modelling
FOREST can be easily configured to view NAME outputs. The
tutorial ships with a configuration file and a directory containing
NAME text files. These files are compatible with the name.py driver
builtin to FOREST.
# contents of name-config.yaml
edition: 2022
datasets:
    - label: NAME
      driver:
        name: 'name'
        settings:
          pattern: 'NAME/*.txt'
To launch FOREST with NAME settings run the ctl command. A browser
tab will be launched, it is possible to disable it with --no-open-tab.
forest ctl name-config.yaml
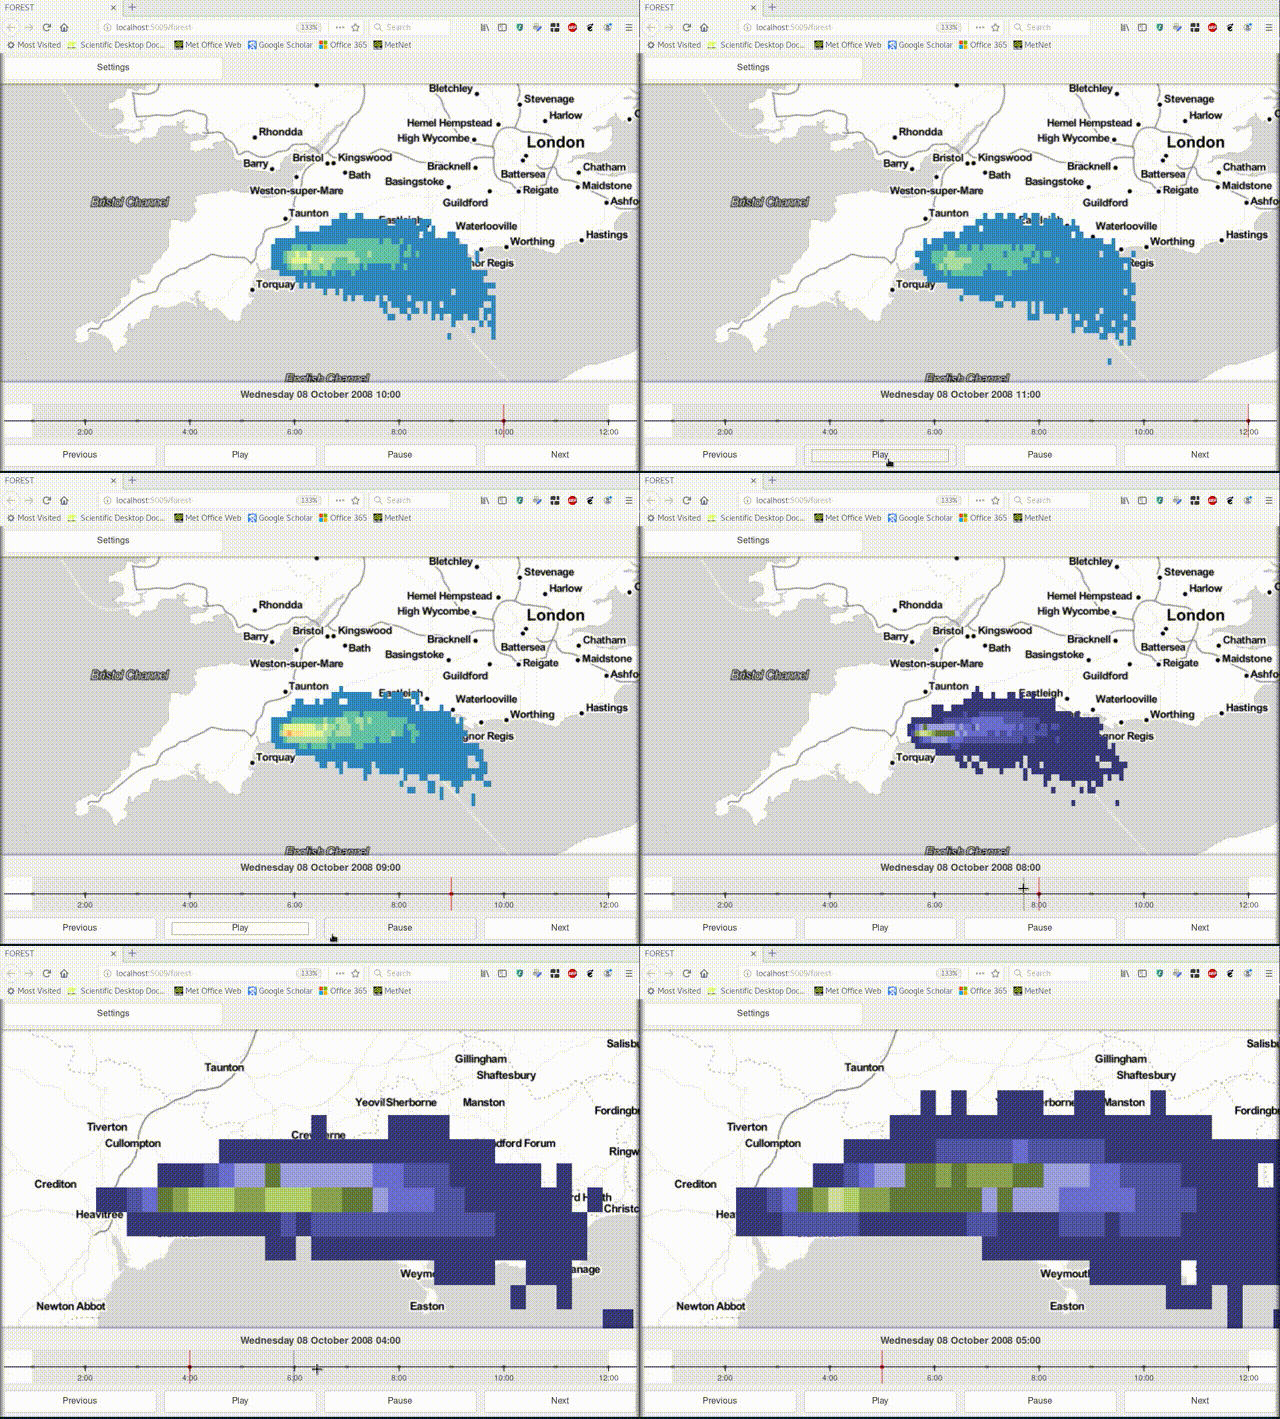
Once FOREST launches it is then possible to customize the color palette(s) and limits, map backgrounds etc. to settings suitable to illustrate plumes of contaminants.

Note
The NAME driver can be invoked with forest view --driver=name command
when running without a config file
Example - Rapidly developing thunderstorms
The above example shows how forest can be used in a similar mode to well-known utilities, e.g. xconv, ncview etc. However, given we have a full Tornado server running and the power of Python at our finger tips it would be criminal to curtail our application. To go beyond vanilla ncview behaviour try the following command:
~: forest view --driver rdt rdt_*.json
This should bring up a novel polygon geojson visualisation of satellite RDT (rapidly developing thunderstorms). But wait, without the underlying OLR (outgoing longwave radiation) layer the polygons by themselves are of little value
~: forest view --driver eida50 eida50*.nc
It seems we are beginning to outgrow the command line, wouldn’t it be nice if we could store our settings and use them in a reproducible way!
Example - Multiple data sources
Open up multi-config.yaml for an example of the settings that can be adjusted to suit your particular use case.
edition: 2022
datasets:
   - label: UM
     driver:
       name: unified_model
       settings:
     pattern: "unified_model*.nc"
     locator: file_system
   - label: EIDA50
     driver:
       name: eida50
       settings:
         pattern: "eida50*.nc"
         locator: file_system
   - label: RDT
     driver:
       name: rdt
       settings:
         pattern: "rdt*.json"
         locator: file_system
Running the following command should load FOREST with a model diagnostic, satellite image and derived polygon product at the same time that can be simultaneously compared.
:> forest ctl multi-config.yaml
Example - Going faster with SQL
For very large data sets, file access and meta-data checking becomes a bottle neck. Accessing thousands or even hundreds of files to answer a single query can be time consuming, especially if your files are stored in the cloud, e.g. in an S3 bucket. FOREST addresses this issue by providing a facility to harvest the meta-data once, store it in a database, and then use the database to quickly locate relevant files.
To generate a database from scratch use the forest database command.
:> forest database my-database.db my-file-*.nc
To make use of a database for a particular database, set the locator to “database” and set database_path to the location of the database file.
edition: 2022
datasets:
   - label: UM
     driver:
       name: unified_model
       settings:
         pattern: "*unified_model.nc"
         locator: database
         database_path: database.db
   - label: RDT
     driver:
       name: rdt
       settings:
         pattern: rdt*.json
   - label: EIDA50
     driver:
       name: eida50
       settings:
         pattern: eida50*.nc
Note
Prefix pattern with wildcard * to enable SQL queries to find files